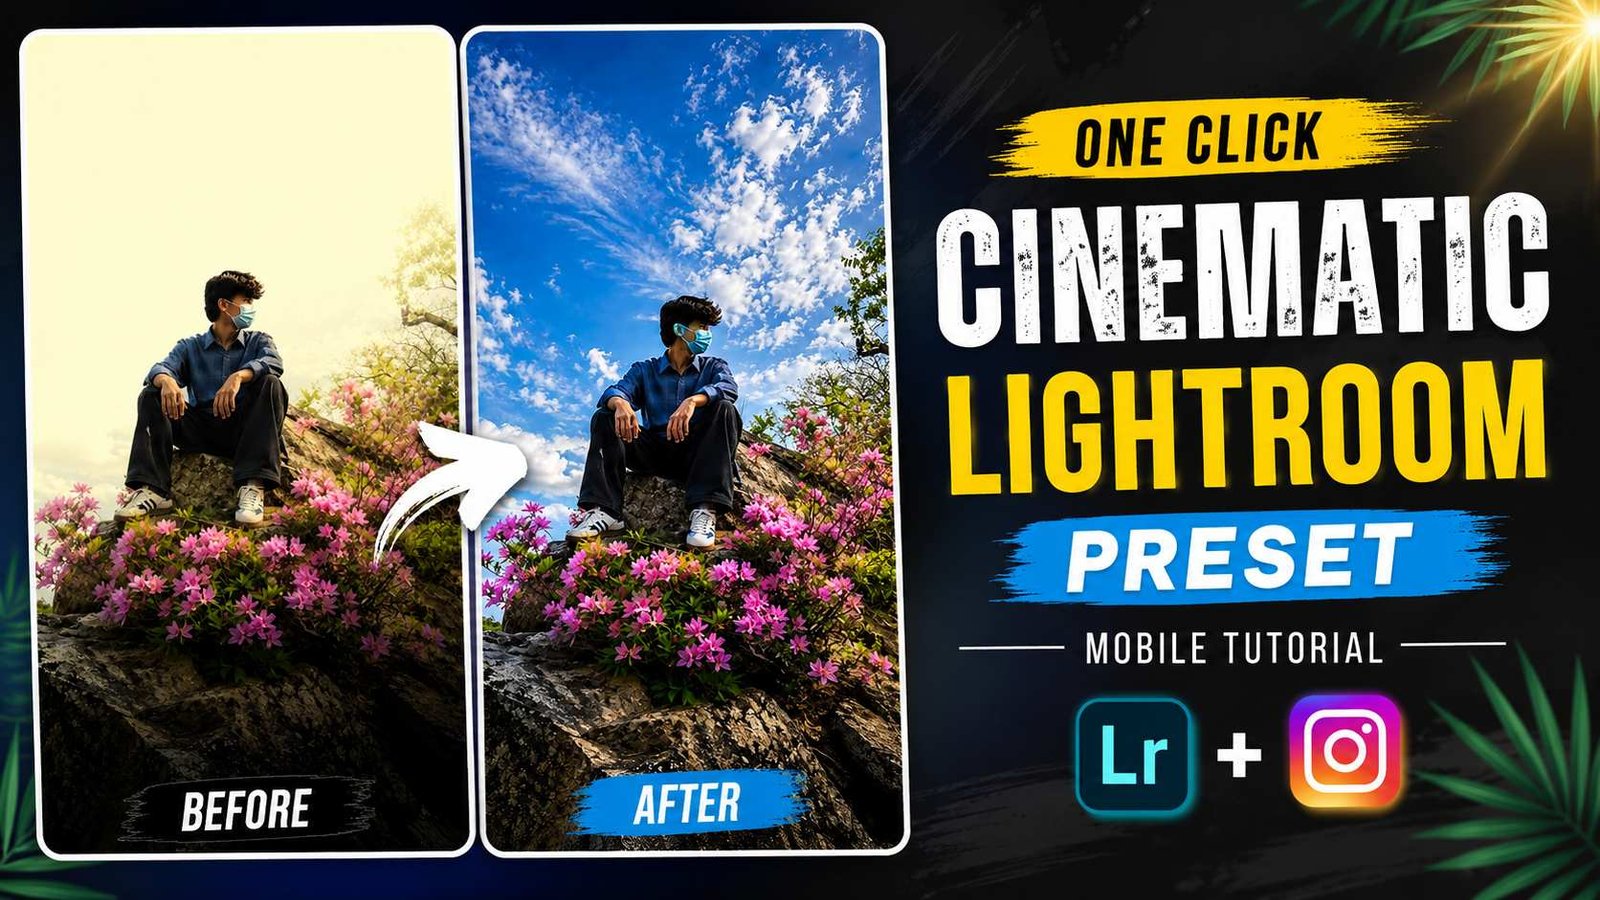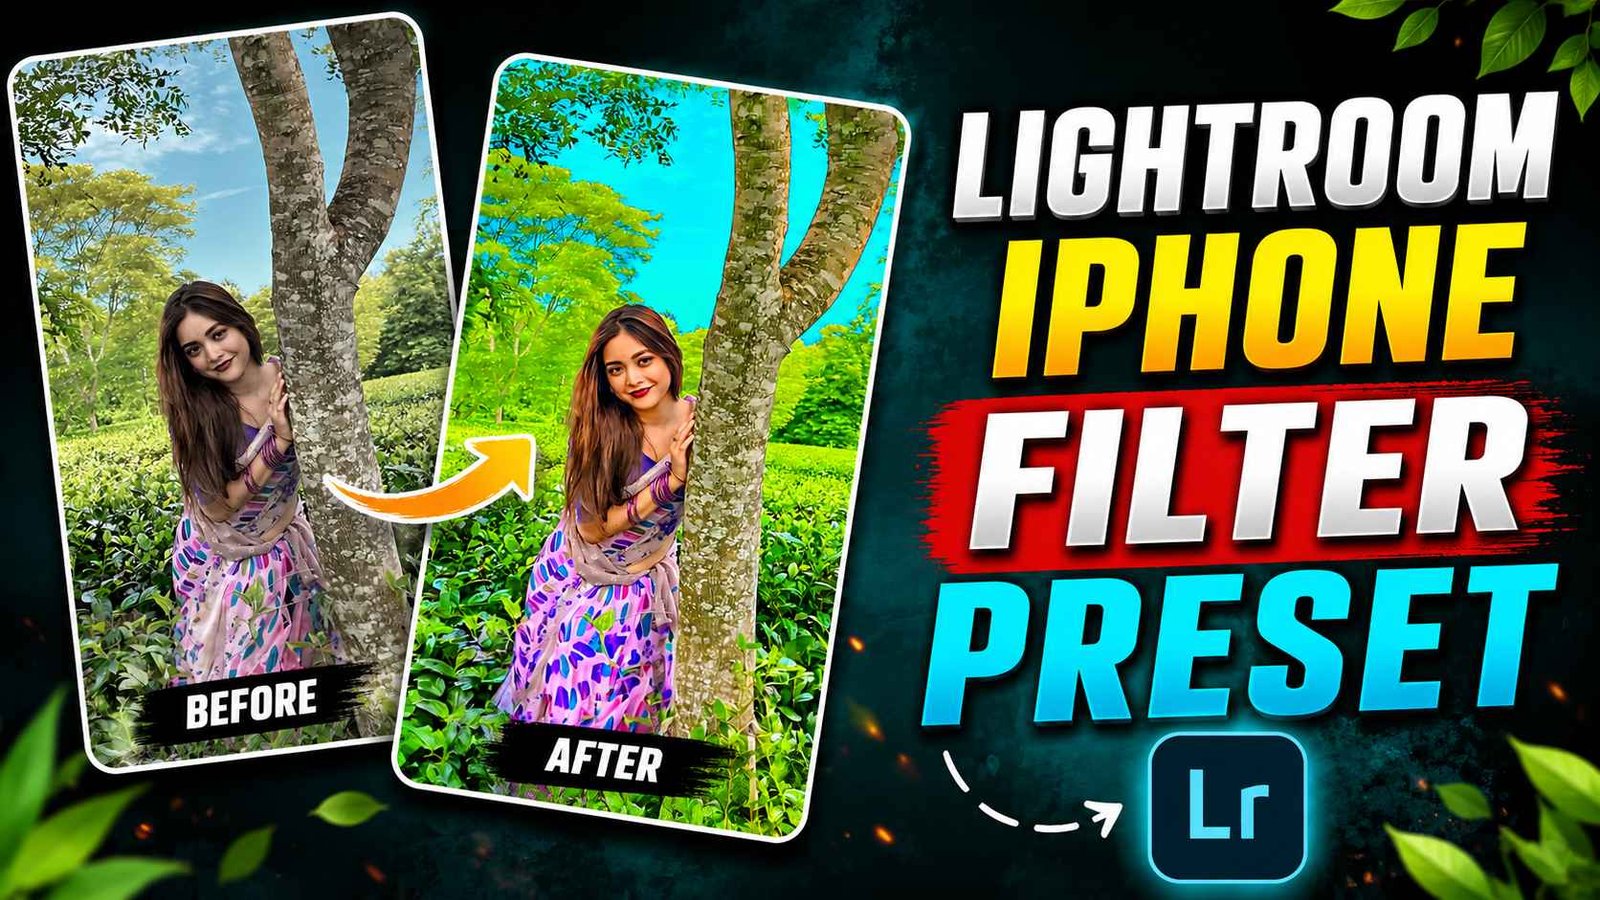
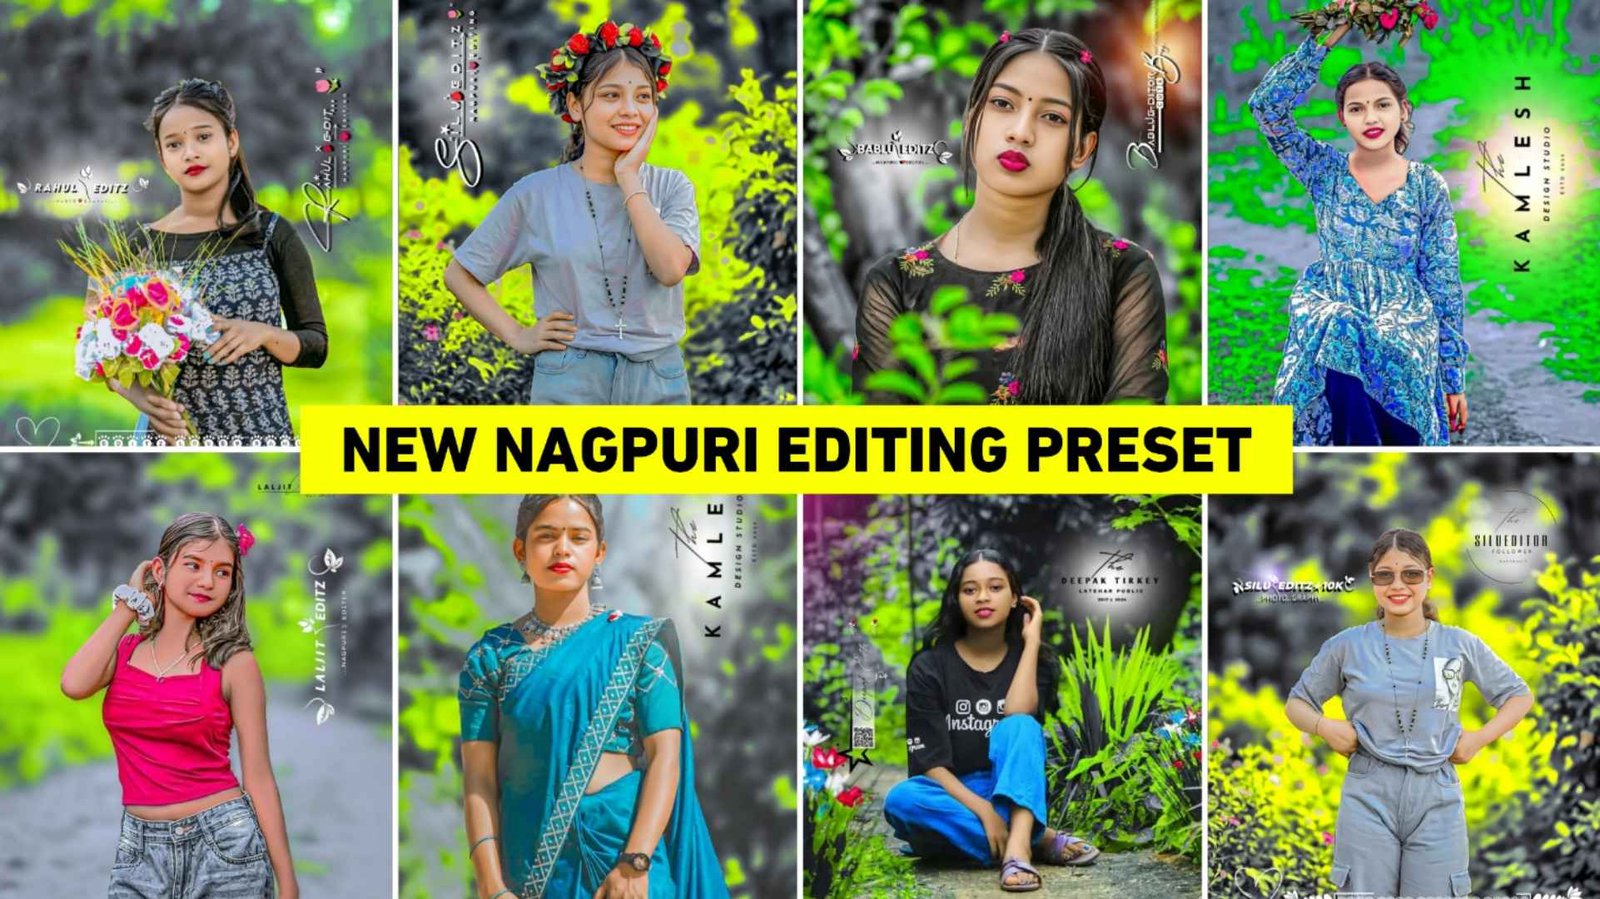
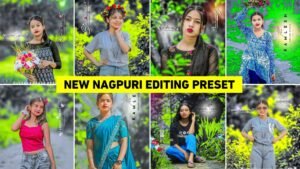
Nagpuri Lightroom Preset – Still there are people who are very much interested in doing Nagpuri photo editing because I am a content creator. I keep making videos on Instagram and YouTube and often my brothers always comment that brother, teach me how to do Nagpuri photo editing. Because Nagpuri photo editing is something different. I am saying this because Nagpuri photo editing is completely different from all other editing. The background color used in this is done in two colors and it looks so beautiful that everyone becomes crazy about it. This is the reason why people still like to do Nagpuri photo editing. Nagpuri photo editing was started from Jharkhand and gradually people from everywhere started liking to do it whether it is people of Bihar or people of UP but mostly we saw that people from Bihar and Jharkhand like to do Nagpuri photo editing very much. If we look at Nagpuri photo editing then it is possible to do it right with Lightroom app, we can do it with other editing apps but we do not get to see the same results as we create with Lightroom.
No one tells the manual method for editing Nagpuri photos with Lightroom app. They keep commenting on me and saying that brother, please make us such a Lightroom preset so that we can do all types of Nagpuri photo editing easily. Keeping all this in mind, today we thought why don’t I create a preset for you for Nagpuri photo editing. So in this article, we are going to provide all types of color presets for doing some Nagpuri photo editing, with the help of which you can make the photo in Nagpuri style by copying and pasting it in a single click.
Lightroom Nagpuri Photo Editing Information
People keep asking for Lightroom presets because it is much easier to edit any type of photo with the help of presets. This is because all that editing style is already done in it. Which is done for editing a photo, whether it is adjustment of lighting, adjustment of color. To make a photo HD, detail is needed. All that stuff is already done in it. We just have to take the preset and copy its settings and apply it on our photo. Nagpuri photo editing is different from other photo editing because in this the background is made a little differently. Whenever you see Nagpuri photo editing, you will see that the background remains black first and at some places people add green color, yellow color or red color as per their choice and the face remains very smooth plus white. There is complete detail on the cloth with complete detail. It seems as if the entire cloth is full of Sharpness and Clarity. In this article, we will share more than 5 such Nagpuri presets which you can use to edit all types of photos.
Nagpuri Photo Edit Manually In Lightroom
It is possible to do Nagpuri photo editing from Lightroom manually, but only those people can do it whose masking tool is open in Lightroom because with the help of masking tool, we can give two colors in the background of our photo. If the masking tool is not open in your Lightroom, then you cannot do Nagpuri photo editing manually. Still, we tell you how to create a photo manually. First of all, you have to add one of your photos in the Lightroom app. You should take a photo in which the background is of green color i.e. there are green plants, trees and leaves. If all these things are there in your background then the photo will be made very well. After taking the photo, first click on the lighting tool and adjust the lighting as per your requirement. Like brightness contrast, saturation, shadow etc. Now go to the color tool and by clicking on the mix tool, first make the background of your photo completely black and white.
To do it in black and white, you can reduce the saturation by selecting the green color or by clicking on the yellow color you can also reduce the saturation. Meaning, whatever color you see there. Mines have to complete everyone’s saturation. Remember, orange color should not be used. Otherwise the face will also become black and white. After this, directly open the masking tool and create a masking there. After creating, click on the Color H tool and give it some color as per your choice. Your photo will automatically appear in Nagpuri editing look. Now click on the Effect and Detail tool and increase the detail and sharpener as per your requirement so that the photo is captured in HD quality.
Nagpuri Lightroom Preset
About Nagpuri Editing Signature Logo editing
If you have seen Nagpuri photo editing on social media, especially on Instagram, then you must have noticed one thing in the photos that people definitely identify themselves in every photo. That means you put a name in your name. Signature people known as Nagpuri Signature people. So definitely add this logo in your photo so that the whole look of the photo changes. People can easily create Nagpuri signature with the help of template. You just have to open the Canva app and write your signature there. You will get to see many people often use Nagpuri for editing. All you have to do is open the template and you can create a signature by typing your name there and then when it comes to applying it, when you edit your photo with Lightroom, then open your photo in the PicsArt app and the first thing to do is to put the signature logo wherever you want. Put a White Light PNG there. Then put the signature logo on it in black colour. Believe me, if you do this, the look of the entire photo will change.
How To Use Nagpuri Photo Editing Lightroom Preset?
It is much easier to create Nagpuri photo with the help of preset. All you have to do is follow the preset you have. First keep it well and select it with your photo and send it directly to the light room. Now I am telling you step by step, after reading which you can easily do Nagpuri photo editing with the help of preset.
- Open the Lightroom app.
- Select Nagpuri photo editing preset.
- Click on the three dots on the top right and copy the settings by mark all.
- Now select your photo in which you want to give the look of Nagpuri editing.
- Again click on the 3 dot option and this time do the paste setting.
- As soon as you do the Paste setting, your photo will get the complete Nagpuri editing look.
- Once you apply the preset correctly, you can share the photo. By clicking on the share button at the top.
Sometimes what happens is that a preset is not applied properly on our photo, so for this you can do whatever tool is visible at the bottom. Nagpuri photo can be created by adjusting everything manually. When the complete photo is created, you can easily share or save the photo by clicking on the share button at the top.
Conclusion
Look, I am a content creator and for the past few days I have been receiving comments from many editor brothers that please provide us some presets for Nagpuri photo editing so that we can do Nagpuri photo editing. I have told you well about Nagpuri photo editing. Whether you want to create a signature logo or learn about Nagpuri editing, including the editing techniques it uses. What kind of background is there? What color is there on the face? We have given good information about everything and it remained. Talking about preset, we have also shared the preset. Under paragraph four, you can easily convert any photo into a Nagpuri editing look. If you have any question related to Nagpuri editing then you can definitely ask us in the comment box. I will definitely try to answer it and similarly, you should definitely keep visiting our website for editing related material. Thank you very much for visiting our website. Have a nice day.
FAQ
1. What Is Nagpuri Lightroom Preset?
Ans. – Nagpuri Lightroom Preset is a collection of pre-made Lightroom editing settings that you can use to give your photos a Nagpuri-style color tone.
2. Can I Create A Photo In One Click Using Presets?
Ans. – Yes, we can edit photos with a single click using any Lightroom preset because the preset already contains all the necessary editing settings.
3. Can You Use Nagpuri Presets On Mobile?
Ans. – Yes, you can edit Nagpuri photos on your mobile using a DNG preset in Lightroom Mobile.